
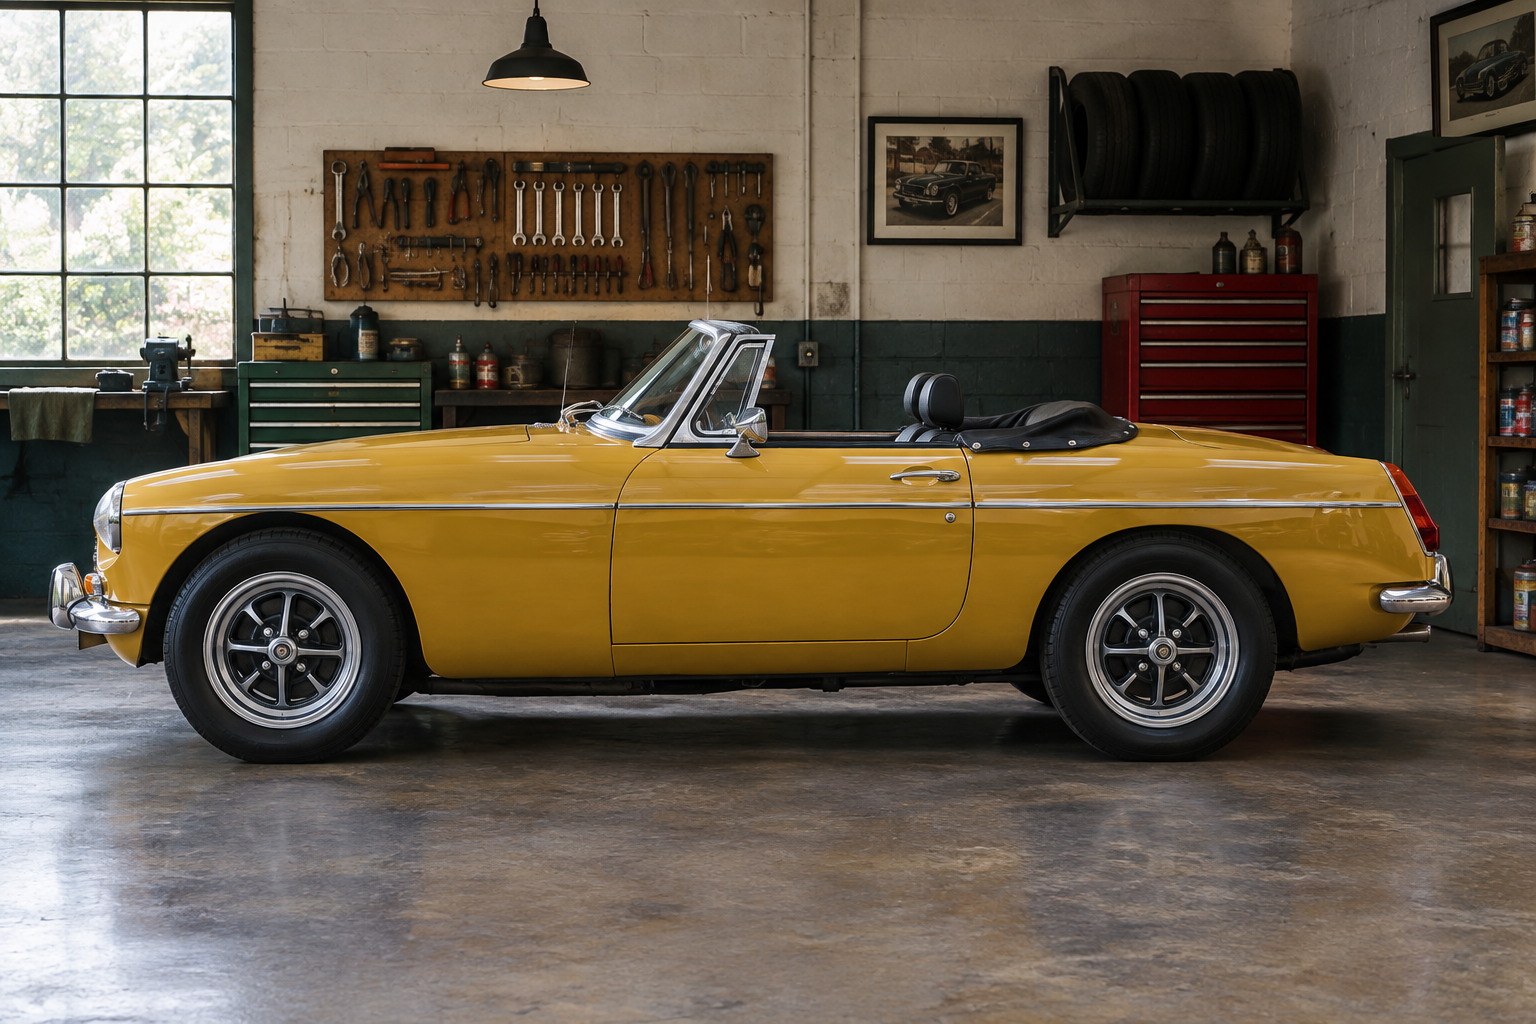
Colour is one of the most recognisable features of an MGB. It influences the character of a Roadster or GT, affects how the body lines appear and often determines whether a car feels traditionally presented or deliberately individual. Yet a successful colour change or repaint involves considerably more than selecting a shade from a chart.
The quality of the finished result depends on preparation, panel condition, paint-system compatibility, application and assembly. It also depends on making sensible decisions before any work begins. A deep, glossy finish can highlight excellent bodywork, but it can also draw attention to uneven panels, poor gaps and hurried repairs.
Whether an MGB is being restored to a familiar period colour or refinished in a personal choice, the objective should be a sound, consistent and usable finish. This guide explains the main decisions involved.
Start with the purpose of the refinishing
Before choosing a colour, establish what the work is intended to achieve. A car may require local paint repairs, a complete exterior repaint, a more extensive strip and rebuild, or a full restoration in which the body is separated from its mechanical and trim components. These are very different projects.
Localised repairs can be appropriate where the existing finish is fundamentally sound and the new paint can be blended successfully. A complete repaint is more demanding because every visible panel, edge and aperture must work together. A restoration may also involve areas that are not normally seen, such as door shuts, inner wings, boot surrounds and the underside of removable panels.
It is useful to agree the intended standard at the beginning. Will the car be a carefully presented driver, a sympathetic refurbishment or a highly detailed rebuild? None of these approaches is automatically right for every owner. The important point is that the finish, preparation and budget should match the intended use.
Choosing a colour for an MGB
Original MGB colours can provide a strong starting point. Period shades generally suit the shape of the car and can help retain a traditional appearance. They may also make sense where the owner wants the car to remain close to its earlier identity.
However, originality is not the only reasonable choice. Some owners prefer a different colour that reflects how they want the car to look and be used. A carefully selected non-original shade can work well when the rest of the specification is considered as a whole.
Colour should be judged alongside the trim, hood, wheels, brightwork and interior. A shade that looks attractive on a small sample may appear quite different across the bonnet, roof or rear wings. Solid, metallic and modern effect finishes can also respond differently to changing light and viewing angles.
Samples should therefore be considered in daylight and, where possible, beside the actual car. It is sensible to assess more than one sample size and to view the colour against proposed trim materials. The surrounding specification can change the impression of a paint colour considerably.
Preserve the identity or create something different?
A colour change is more involved than painting the outside of the car. If the existing colour is being replaced, the new finish may need to continue into door apertures, boot areas, the engine bay and other visible sections. Leaving an old colour around seals or inside shut lines can make an otherwise attractive repaint feel incomplete.
This does not mean every MGB must be returned to its original shade. It means the extent of the colour change should be decided honestly. A visible exterior change with limited treatment to less obvious areas may be appropriate for one project, while another owner may want a comprehensive transformation.
Documentation can also be useful. If an owner chooses a non-original colour, keeping records of the paint code, product system and application details can help with future repairs. Colour matching becomes easier when the refinishing process is documented rather than relying solely on visual memory.
Preparation matters more than the final polish
Paint cannot compensate for weak preparation. Before refinishing, the body should be assessed for corrosion, previous repairs, rippling, poor filler work and areas where moisture may be trapped. The condition of seams, flanges, apertures and panel edges is particularly important because these areas are easily overlooked.
Sound metalwork and correct repairs provide the foundation for the finish. Where replacement panels or bodyshell sections are being used, alignment should be resolved before final paint. A high-quality replacement bodyshell can offer a useful foundation for a build, but it still requires careful checking, preparation and fitting of the surrounding components. More information about a particular rebuild approach can be found on the MGB rebuild specification page.
Panel gaps should be considered before primer and topcoat. Doors, bonnet, boot lid, wings and valances need to be trial-fitted where appropriate. If alignment is left until after painting, adjustments can damage the new finish or create unnecessary compromise.
Preparation usually includes cleaning, keying or stripping the old finish as appropriate, treating repaired areas correctly and applying compatible primer and surfacer products. The exact materials should be selected as a system rather than mixed casually. Product instructions and the experience of the paint technician are important, particularly where older finishes and newer refinishing materials meet.
Paint systems and application
Paint technology has changed considerably since the MGB was produced. A modern refinishing system may offer practical advantages in application and finish, but the correct result depends on compatibility, preparation and controlled application. The choice should be made by the person carrying out the work, taking account of the existing substrate and the desired appearance.
Application conditions matter. Dust, temperature, humidity, ventilation and curing time can all influence the result. A finish that looks acceptable immediately after application may require further curing and careful inspection before it is polished or assembled.
Gloss level should also be discussed. Many owners want a clear, high-gloss appearance, while others prefer a finish that looks closer to the character of an older car. A uniform finish is usually more important than chasing maximum shine. Excessive polishing can soften sharp edges and alter the appearance of details, so the finishing process should be controlled.
Details that make the colour work
Paint is only one part of the visual result. Brightwork, badges, wheels, mirrors, lamp surrounds, rubber seals and hood materials all frame the colour. New paint may make tired trim appear more noticeable, while freshly restored brightwork can change how the panels are perceived.
It is worth deciding whether components will be cleaned, refinished, replated or replaced before the final assembly stage. Rubber seals should be checked for condition and fit, since poorly seated seals can spoil door and glass alignment. Fasteners and fittings should be installed carefully to avoid marking the painted surfaces.
Bonnet and boot edges deserve particular attention. These areas are frequently handled, and small chips or abrasions can develop if the panels are forced into position or allowed to contact surrounding metalwork. Correct adjustment and clean, undamaged seals help reduce this risk.
Colour matching and future repairs
No finish remains entirely unchanged. Sunlight, cleaning, polishing and general use can alter the appearance of older paint. Even if a paint code is known, a future repair may need to be matched to the car as it is now rather than applied as a completely isolated formula.
For this reason, retain paint information and, where possible, an appropriate sample or record from the original work. Note the product system, colour reference and any relevant application details. This information can be valuable if a wing, door or other panel requires attention later.
Stone chips and small marks should be dealt with before moisture and contamination create a larger problem. Touch-in work may not be invisible, but prompt attention can prevent a minor defect becoming more extensive. For larger damage, professional preparation and blending are usually preferable to repeatedly adding layers of touch-up paint.
Looking after a newly refinished MGB
A newly painted car should be treated according to the refinishing system's curing guidance. Washing, polishing, covering and storage practices may need to be adjusted during the early period. The paint technician should provide specific advice rather than relying on general assumptions.
Once the finish is ready for normal use, gentle washing with suitable materials is preferable to aggressive cleaning. Avoid allowing grit to remain on the surface, and dry the car in a way that reduces rubbing. Inspect the lower body, wheel arches and panel edges regularly, as these areas experience more dirt and road debris.
Storage also affects presentation. A dry, ventilated environment can help reduce condensation, while a cover should be suitable for the conditions and clean on the inside. Dampness trapped beneath a cover can be unhelpful, particularly if the car is put away before it is properly dry.
Making the decision
The strongest MGB colour refinishing projects begin with a clear brief. Decide the intended use, agree how much of the car will be painted, inspect the bodywork, choose the colour alongside the trim and record the materials used. These decisions are less glamorous than viewing the finished shine, but they have a greater influence on the outcome.
For owners considering a completed car, the current MGB stock page provides a place to see what is presently available, while the sold cars page offers a record of previous examples. If you have a specific refinishing or rebuild requirement to discuss, you can use the contact page.
An MGB does not need an elaborate colour scheme to make an impression. A well-prepared body, consistent paint application and carefully considered trim will usually achieve more than a fashionable shade applied over uncertain foundations. The right finish is the one that suits the car, the owner's intentions and the standard of workmanship beneath it.